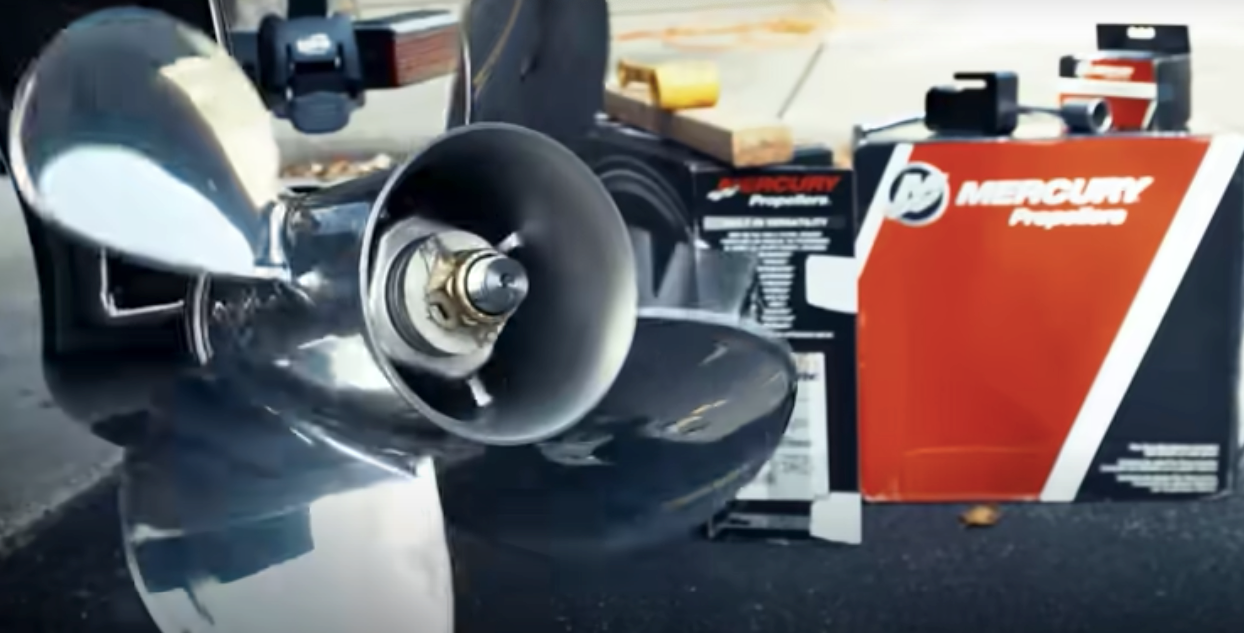
How to Install a Propeller on a Mercury Outboard?

While many believe that the installation of a new propeller on a mercury outboard is a tedious and cumbersome task, it is not the case. In fact, armed with the right knowledge, one can conveniently pull off the task of installing a new prop within a few minutes!
That said, let us first take a look at when do you need to install a new prop or change an existing propeller!
When Should You Replace Your Outboard Propeller?
Some of the most prominent telltale signs that your outboard prop needs to be changed include the following –
- The propeller has either too much or not enough pitch
- The propeller isn’t ideal for your desired application
- The propeller has been damaged and is dinged, bent, or chipped
- Your goal is to reach higher speeds
- The propeller isn’t offering desired fuel efficiency
Tools Required to Install a Propeller on a Mercury Outboard
You will require the following tools to change your boat propeller-
- Basic Socket Prop Wrench or Adjustable Wrench
- Torq wrench
- 2-4-C Grease – Mercury Marine Precision Lubricants Marine Grease
- 2X4 board approximately 2 feet in length
- Flathead screwdriver
Steps to Install a Propeller on a Mercury Outboard
Step #1:
Using a screwdriver, push down the two bent-up tabs that are holding down the propeller nut.
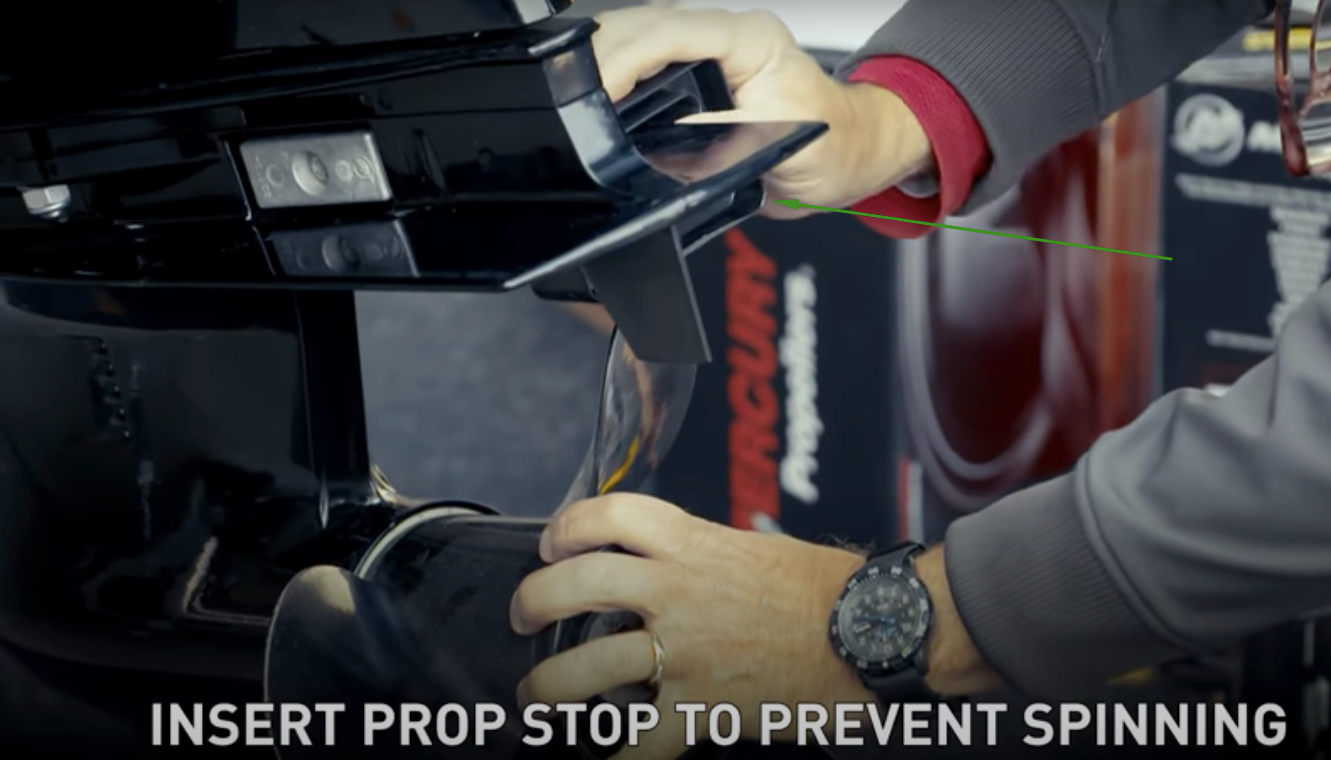
Step #2:
Insert prop stop to prevent spinning.
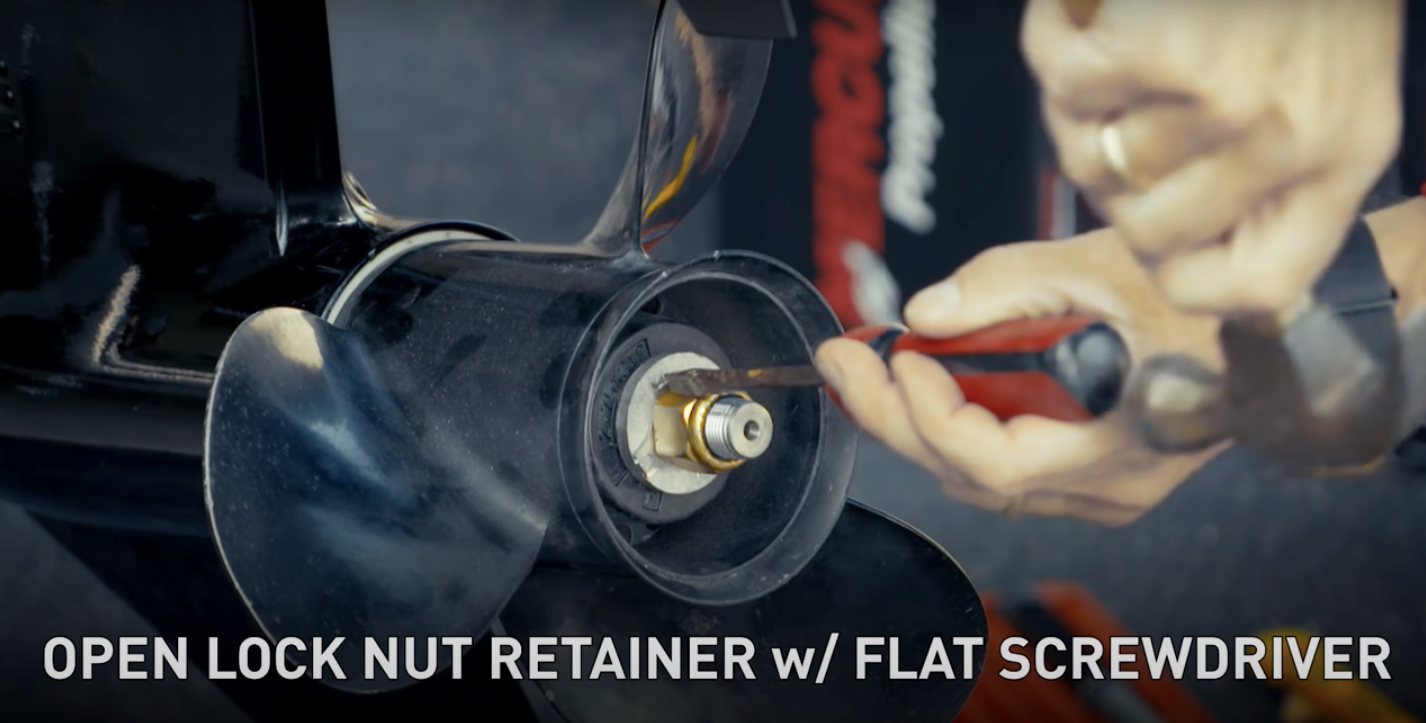
Step #3:
Open lock nut retainer with Flat Screwdriver.
Step #4:
Remove prop nut.
Step #5:
Remove locknut retainer.

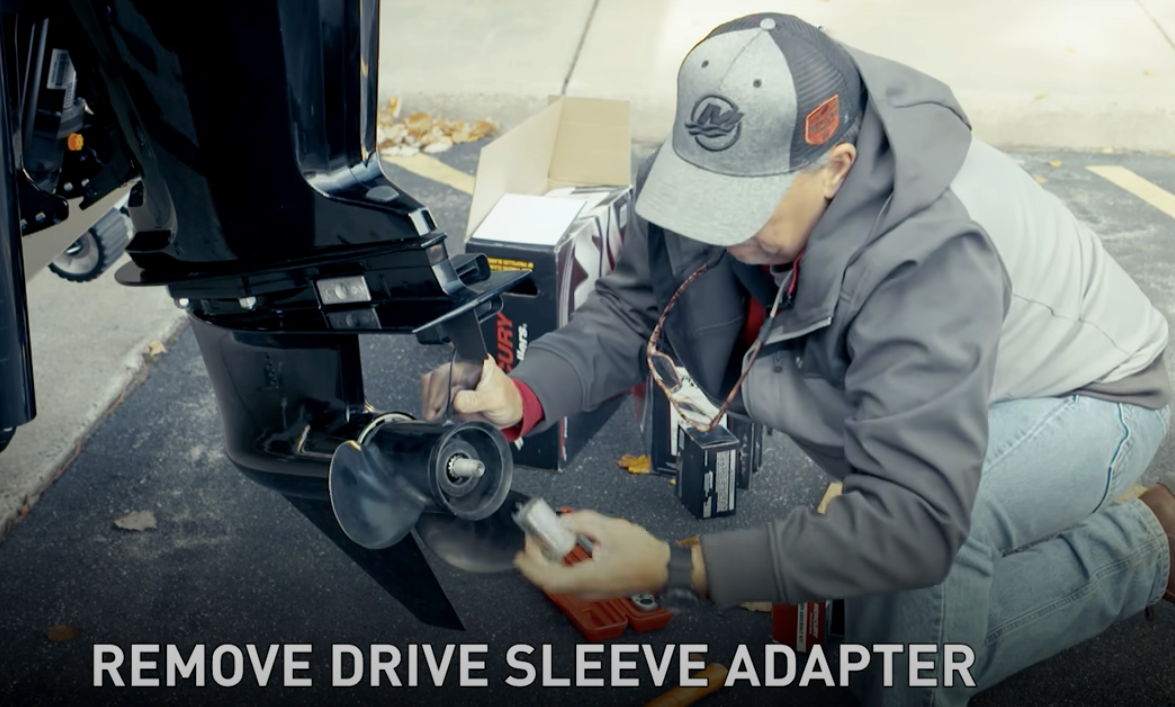
Step #6:
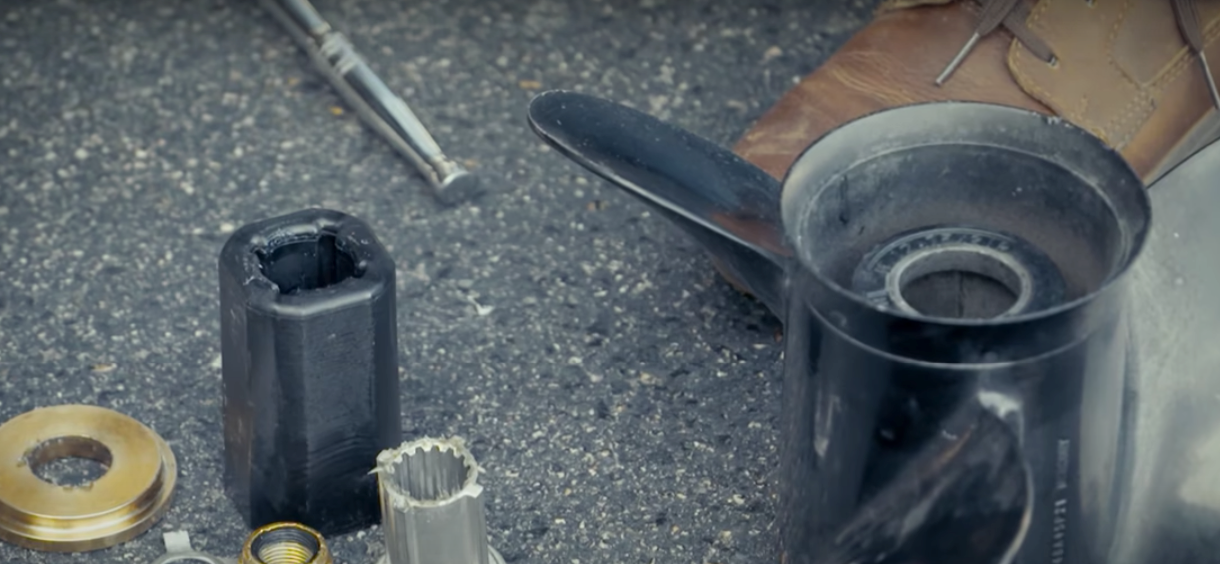
Remove drive sleeve adapter.
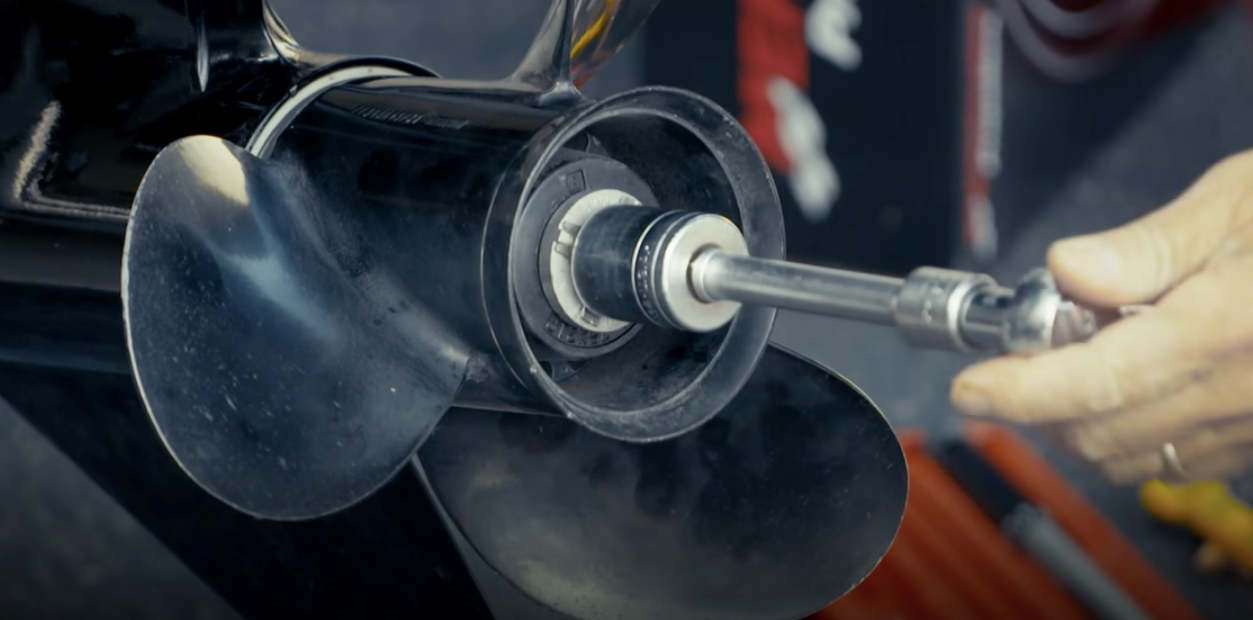
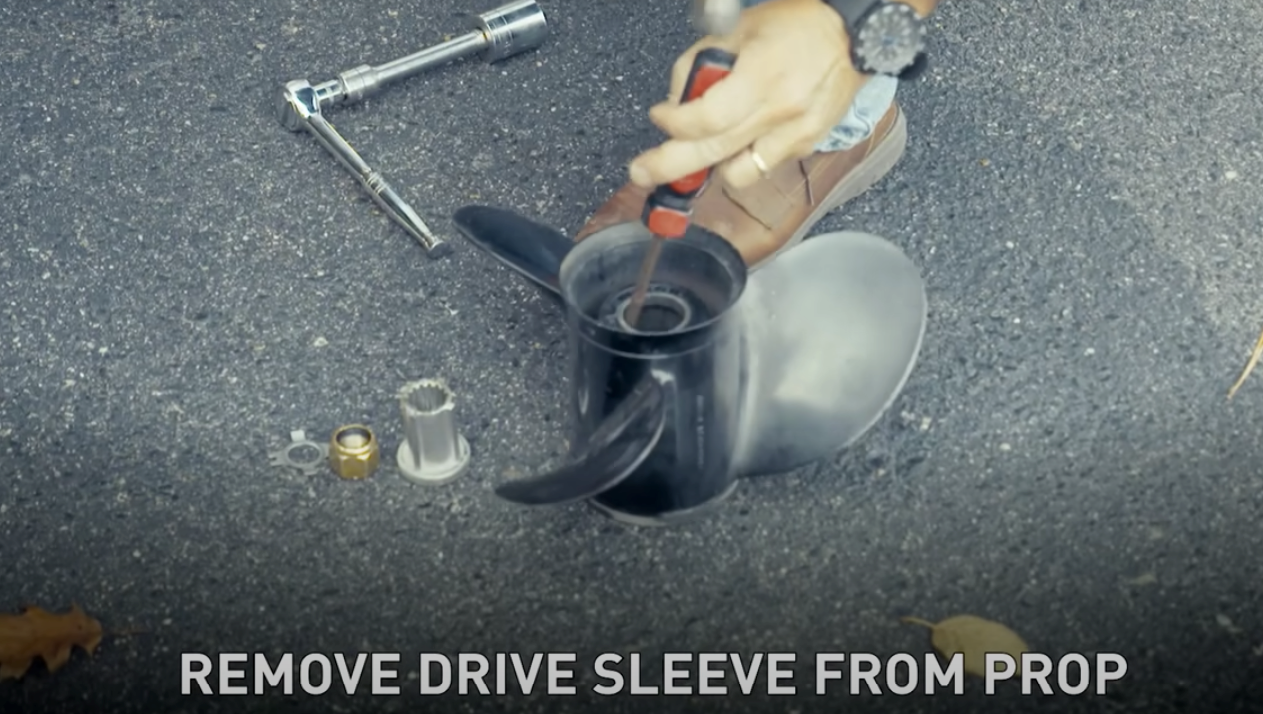
Step #7:
Remove drive sleeve from the boat propeller.
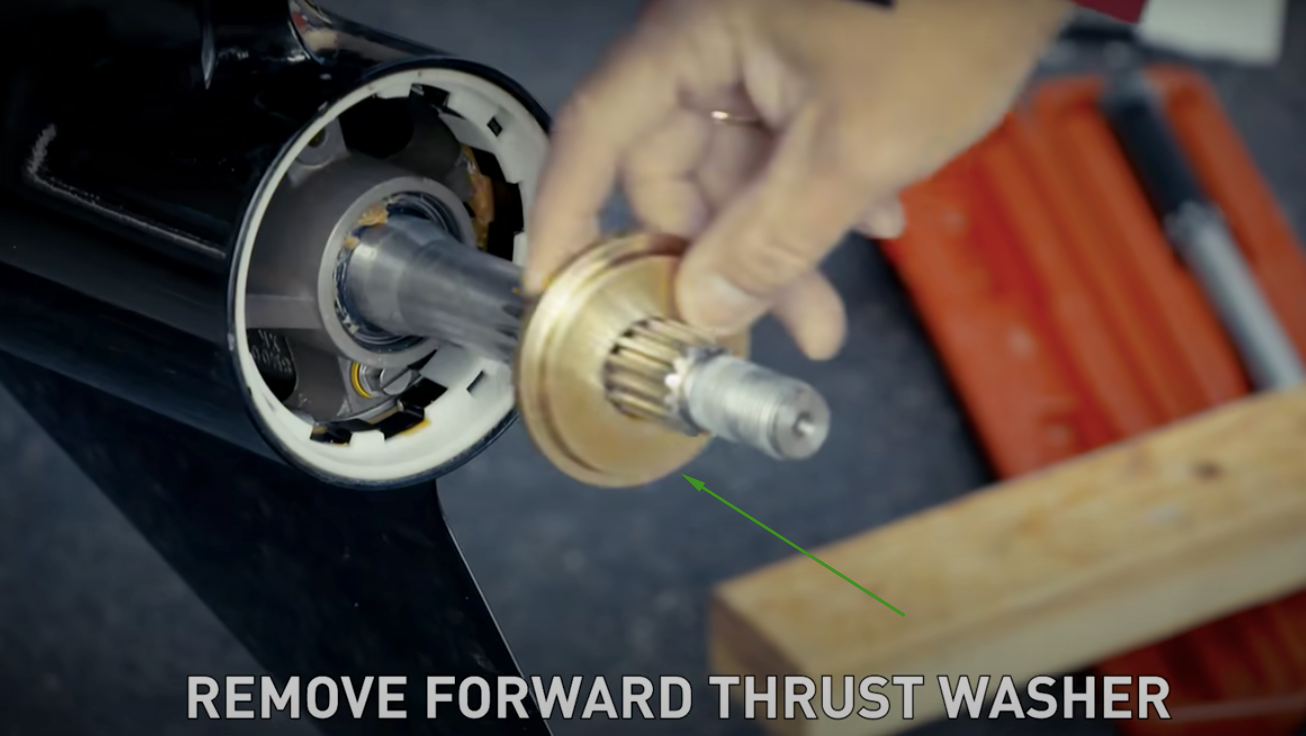
Step #8:
Remove forward thrust washer.
Step #9:
Clean any debris or old fishing line around the prop shaft.
Step #10:
Then inspect the shaft and analyze if it needs to be greased. If it does, coat a thin, even layer of Mercury 2-4-C grease on all the splines.
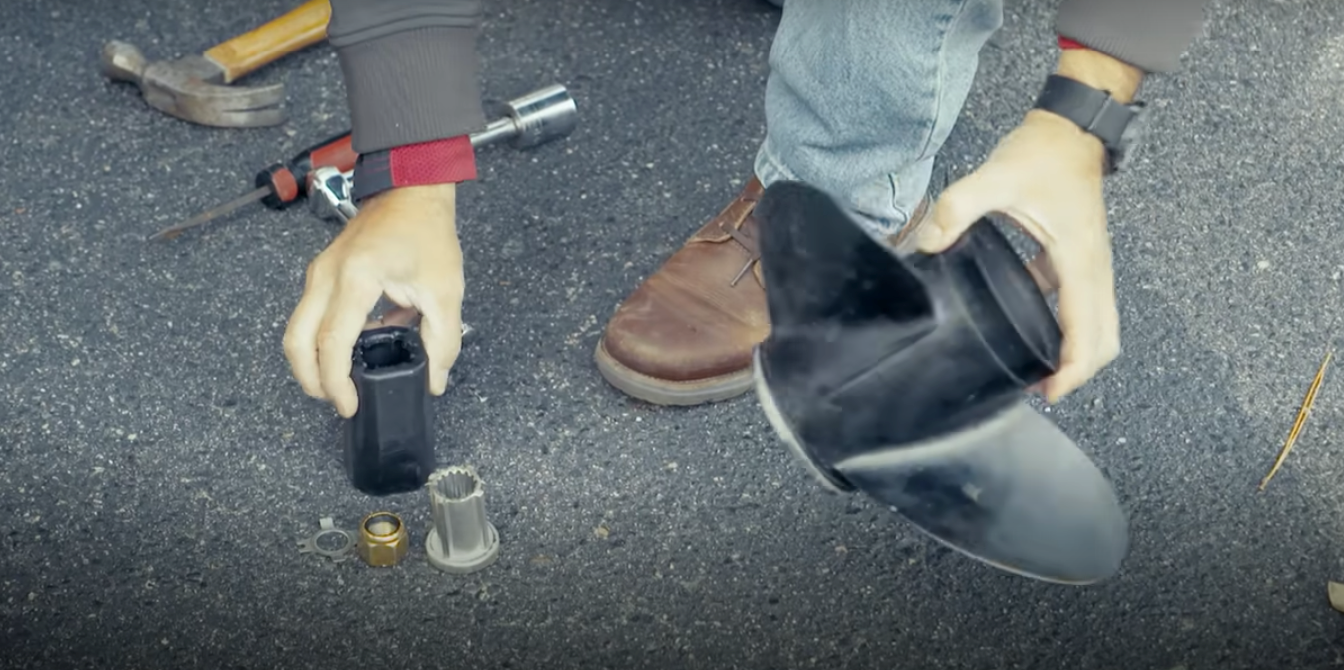
Step #11:
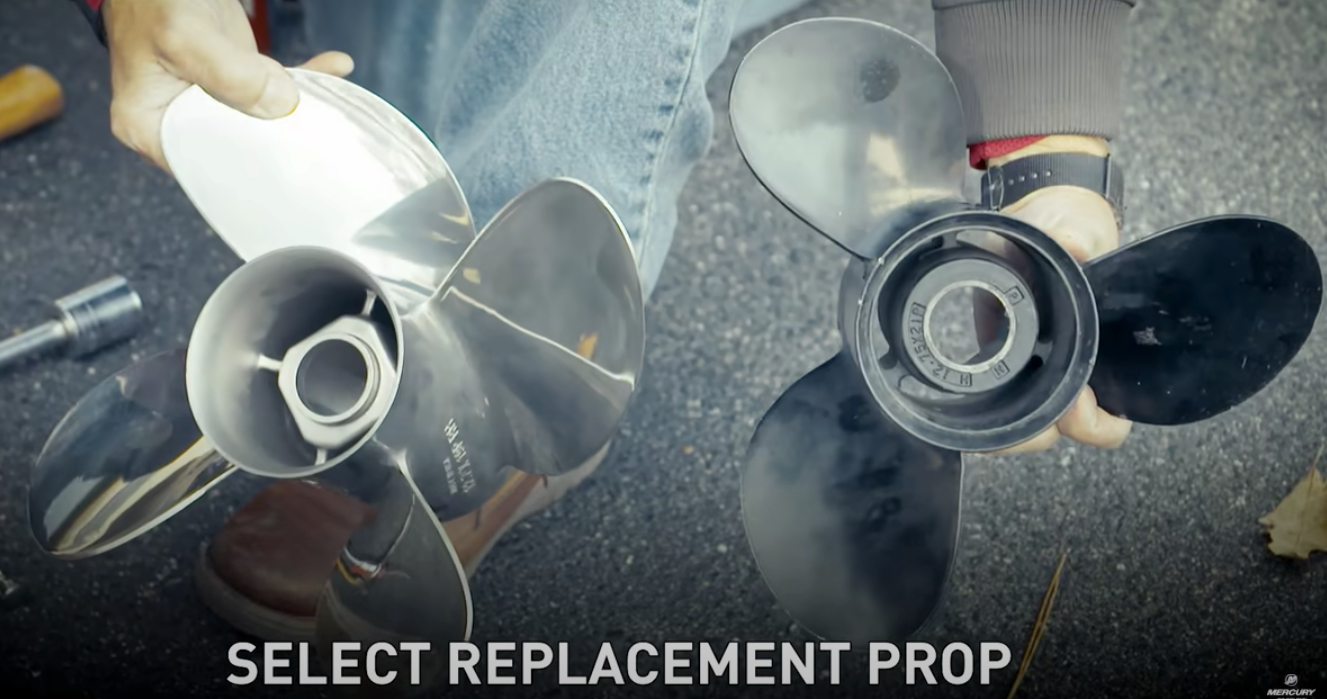
Select replacement propeller
Step #12
Install forward thrust washer
Step #13
Slide drive sleeve into the propeller
Step #14
Insert drive sleeve adapter
Step #15
Slide the new propeller on the prop shaft
Step #16
Slide locknut retainer on prop shaft
Step #17
Insert prop stop to prevent spinning
Tighten propeller nut
Finish with torque wrench, and tighten the nut further until you hear a click sound.
Close locknut retainer against locknut
Watch Mercury Marine Propeller Shaft expert demonstrate how to change your outboard propeller step-by-step in this informative and easy to follow video.
**EXCITING RESOURCE FOR BOATING ENTHUSIASTS**
For lifestyle, how-to, gear & technology, and inspiration check out Mercury Marine’s blog – Dockline.www.mercurydockline.com
Frequently Asked Questions Regarding Installation of a New Outboard Propeller
How often should you change your prop?
In general, it is recommended to change a boat prop if one or more of the blade edges are chipped or broken by over 15%. In case the propeller is in good condition, and the blades haven’t suffered any damage, you can continue using the same without the need to change it.
How tight should a propeller nut be?
For a propeller nut to be accurately placed, it is crucial that the half prop nut is first installed and tightened to be just snug enough to preload it onto the prop shaft, against the hub. Next, the thick prop nut goes onto the shaft. All you need to make sure is that the propeller nut is tight enough, so as not to come off due to any vibration.
Is it easy to change a boat prop?
Yes, it definitely easy to change propellers. The steps are quite simple and usually can be completed within 30 minutes or so.
How much torque is needed when installing a propeller?
Once the nut is hand tightened, you may now use a torque wrench to reach the specification of 55 foot-pounds of torque. If you don’t have a torque wrench, no need to worry, simply tighten down the nut with your socket. It will need to be pretty snug to avoid coming off when running your outboard. Once the nut is snugly in place, you’ve successfully installed your propeller.
What is a propeller thrust washer?
Essentially, a thrust washer also referred to as a lock washer, is a long-wearing flat bearing that enables the transmission and resolution of axial forces in rotating mechanisms with the aim of keeping the components aligned along a shaft. Thrust washers often act as the more affordable alternatives to rolling thrust bearings.


